Adding Story Branches and Player Choices
Story branches that depend on choices made by the player are usually a key feature in visual novel games, and these can be easily added in TyranoBuilder games. In this section, we’ll see how to add branches to your games.
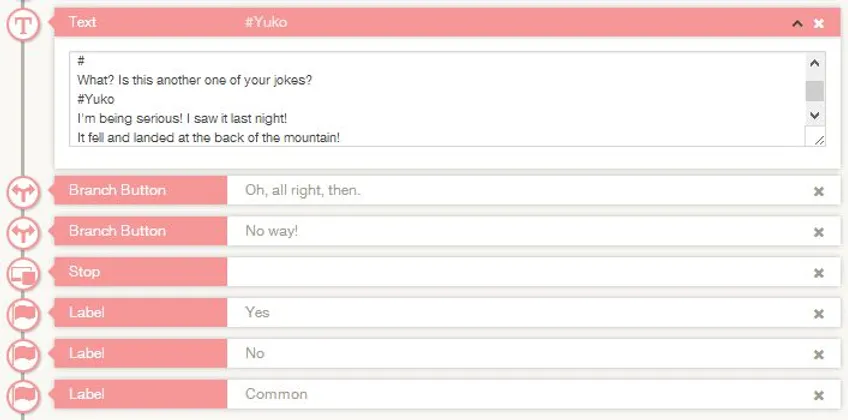
First off, let’s continue the previous scene by adding the below text.
#Yuko
A meteorite fell at the back of the mountain!
We have to go look for it!
#
What? You think I’d fall for that?
#Yuko
I’m being serious! I saw it last night!
It fell and landed at the back of the mountain!
Let’s go look for it!
Let’s now add a story choice in response to the line, ‘Let’s go look for it!’
Sometimes you might want to jump to a certain point in a scene, right?
In this case, you can use the handy Search function.
Click the magnifying glass at the top right of the Scene Editor to open the Search Box.
The shortcut for to open the Search Box is:
PC: Ctrl + f
Mac: Command + f
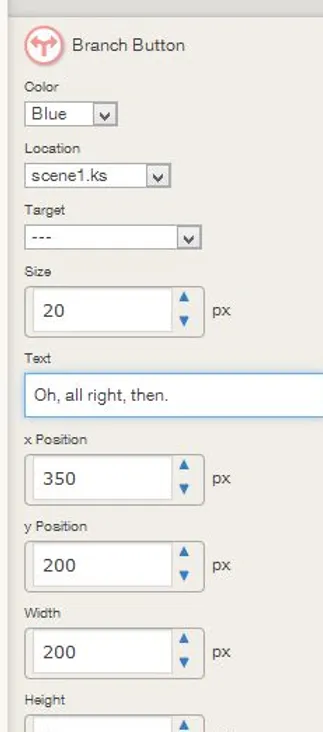
Back to our game! From the Tools Area, drag and drop the ‘Branch Button’ component into the Scene Editor. This will become one selection choice. Go ahead and adjust the settings for the component in the Setting Area as below.
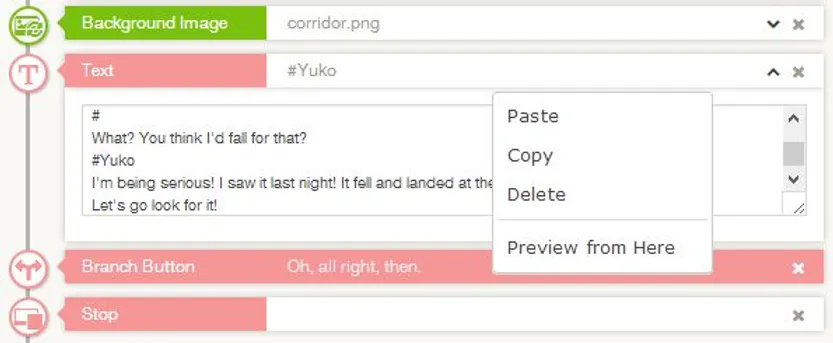
We’ll need one more button, but let’s use the Copy and Paste functions instead of instead of dragging and dropping this time.
Right click the Branch Button that we placed in the Scene Editor earlier, select Copy from the pop-up menu, then Paste.
Presto! A completely identical branch button appears below the first!
Now we’ll revise the copied component to make our second selection. Change the text in the Setting Area of the new component to ‘No way!’ and set the ‘y position’ to 300px so it doesn’t overlap with the first branch button we make.
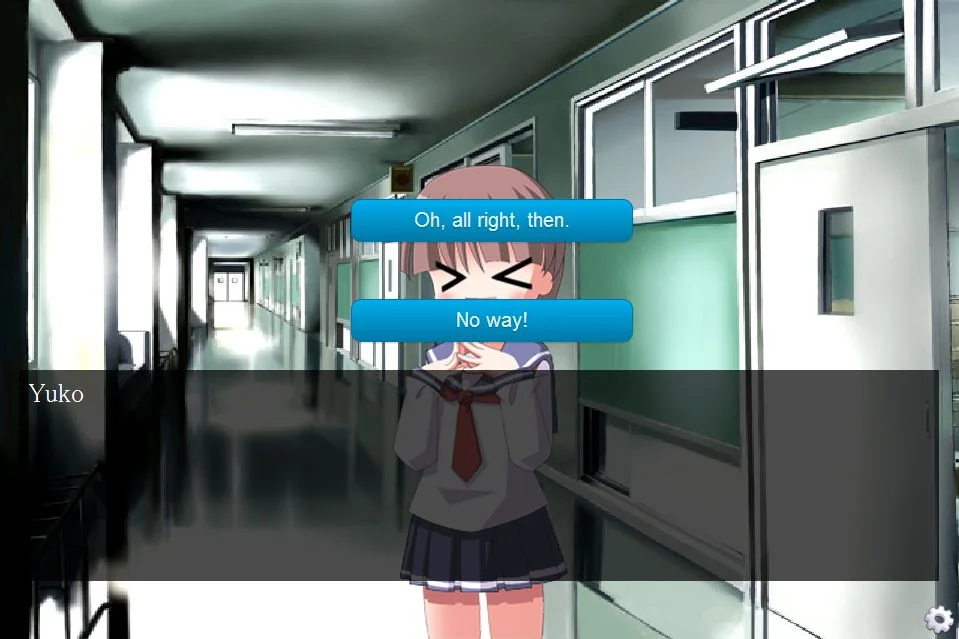
Okay, save the project and let’s see how it looks!
Important
Be sure to place a ‘Stop’ component after setting a branch, otherwise, the game will proceed to the next component without stopping.

Now we have the buttons “Oh, all right, then.” and “No way!”, but nothing happens when the player clicks on them…
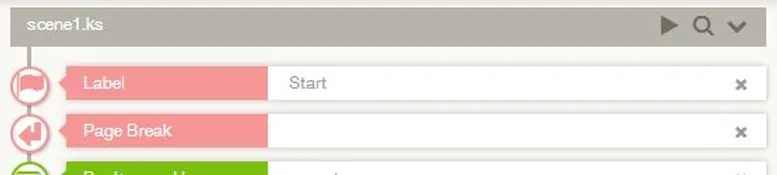
We need to tell the game where to jump when a button is pressed, and to do that we use ‘Labels’. Here we go!
From the Tools Area, drag and drop three ‘Label’ components to the bottom of the Scene Editor. Two of these labels will be our jumps for “Oh, all right, then.” and “No way!”, and the other will return to the common story route when the branch is over.
Let’s keep things simple and use the names ‘Yes‘, ‘No‘, and ‘Common‘ for these labels.
The Scene Editor should look like below after adding it, right?
Now we’ll set each of the branch buttons to jump to the relevant label when the player makes a selection. Select the “Oh, all right, then.” button in the Scene Editor, and set the ‘Target‘ parameter in the Settings Section section to point to the ‘Yes‘ label we added above.
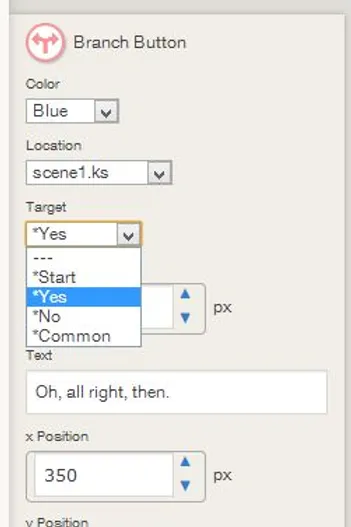
Now, when the “Oh, all right, then.” button is pressed, the story will move to the ‘Yes‘ label. Follow the same process to set the “No way!” button to jump to the ‘No‘ label when pressed.
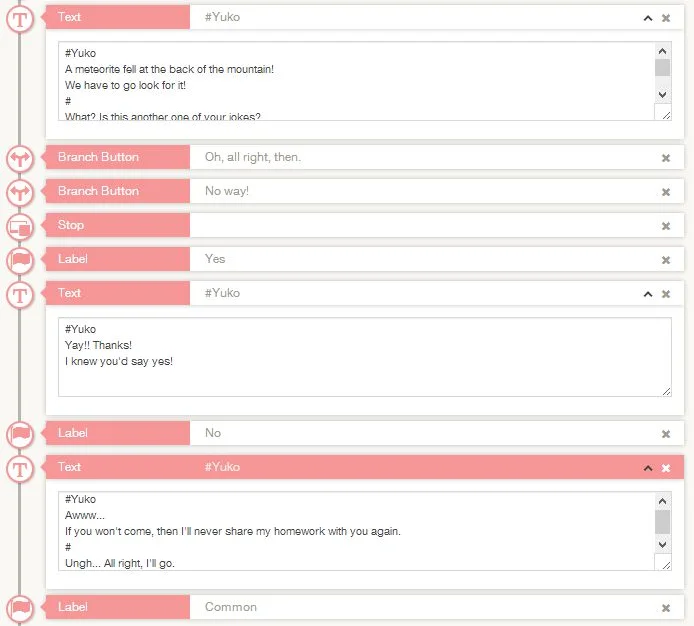
Next we’ll need to prepare the scenarios that will play out for each selection. Add Text components with the following text below the relevant labels.
For the “Oh, all right, then.” scenario:
#Yuko
Yay!! Thanks!
I knew you’d say yes!
And for the ‘No way!’ scenario:
#Yuko
Awww...
If you won’t come, then I’ll never share my homework with you again.
#
Ungh… All right, I’ll go
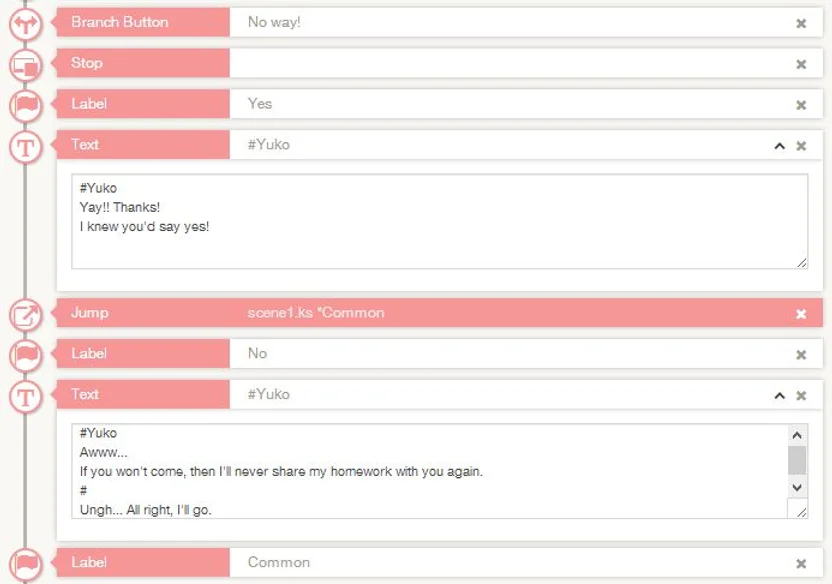
There’s one slight problem with our game… When the player selects “Oh, all right, then”, the ‘Yes’ scenario plays, but because the scene proceeds from the top down, the “No way!” scenario plays too.
Here’s where we use the ‘common‘ label we prepared earlier!
Insert a ‘Jump‘ component from the Tools Area. This component jumps to the Label set in its Target parameter.
We’ll set this component to jump to the ‘Common’ label, so it leapfrogs over the ‘No way!’ scenario.
And that’s how adding branches and choices works! If you’d like to use your own button designs for branches instead of the default buttons, use the ‘Image Button‘ component instead of the Branch Button.
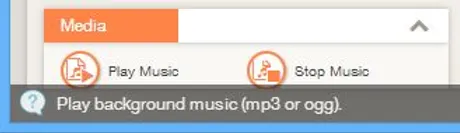
If you ever need to check how a component works, hover the mouse pointer over the component and take a look at the Help Bar at bottom of the TyranoBuilder window. Here you’ll find a brief description of the component, which just might help.
Depending on your particular game, you might want to have branch choices affect player stats or parameters that track game play. This possible by using TyranoBuilder’s sister tool TyranoScript. To add TyranoScript tags, drag and drop the ‘TyranoScript’ component from the Tools Area and add your own script to the component. See the TyranoScript Tag Reference for details about the available tags and parameters.
Next up: we’ll see how to add music and sound effects!