Managing Characters
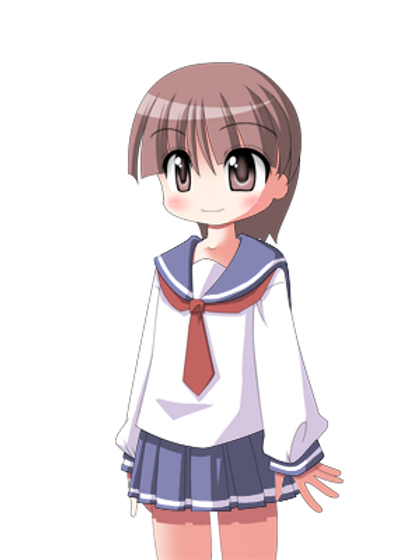
As promised, in this chapter we’ll introduce a character to our scene, and that character will be Yuko. Cute, right?
Adding Characters
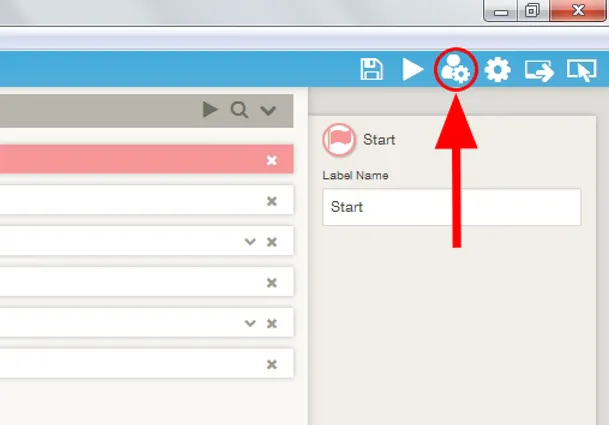
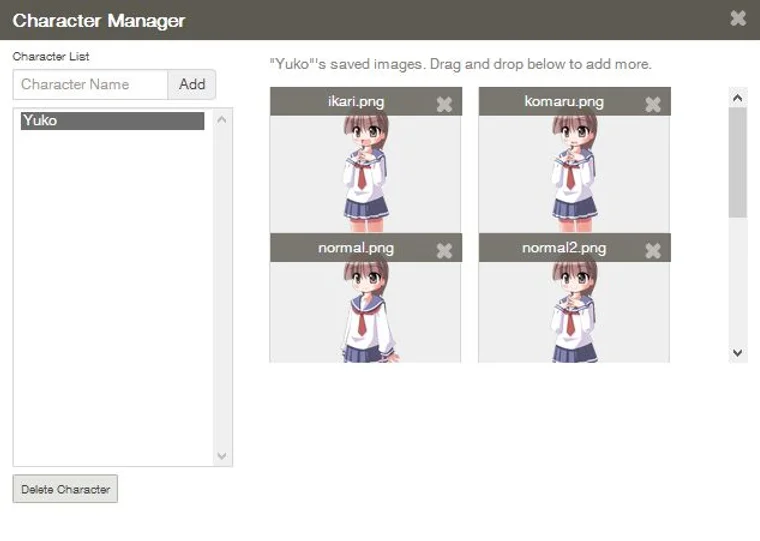
Before we can have a character join the scene, we’ll need to set them up in TyranoBuilder’s Character Manager. Click the Character Manager icon at the top right of the TyranoBuilder window to open the Character Manager window and let’s get Yuko set up.
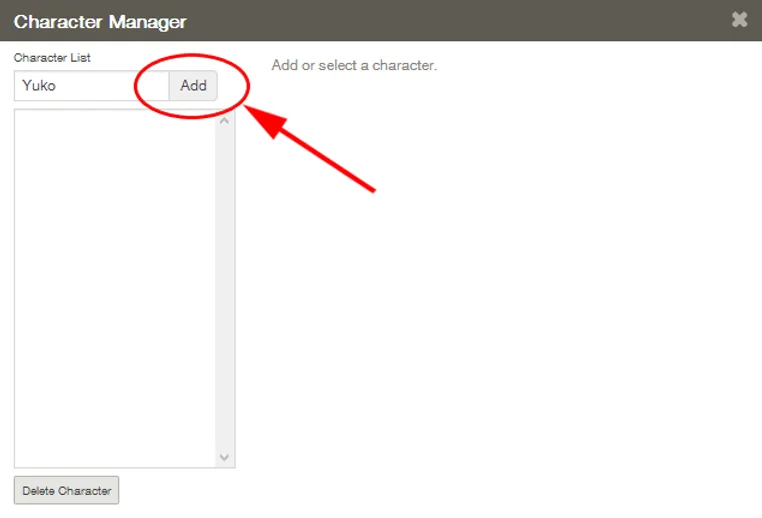
In the Character Manager, Enter ‘Yuko’ in the character name text box and press ‘Add Character’ .
Now we’ll import Yuko’s character art. which you can download from the zip file at the below link.
Unzip the file to a folder on your computer, then drag and drop all of the images from the folder to the area with the dotted line in the Character Manager to import them.
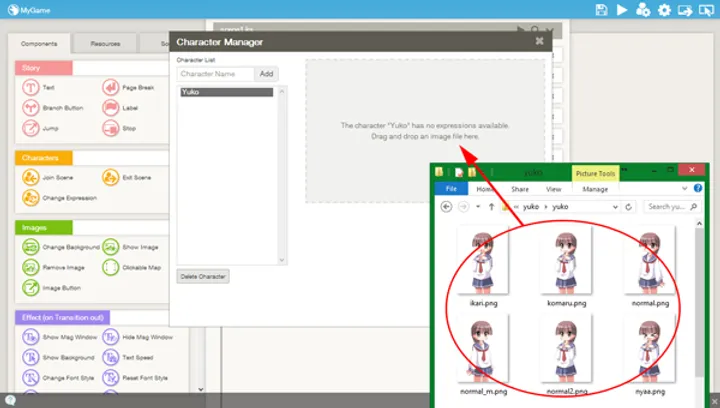
Once the import is complete, we’re all set – Yuko and her character art are set up in TyranoBuilder!
Importing multiple character expressions in one goes like this allows you to easily switch between expressions when creating the game.
Have a Character Join a Scene
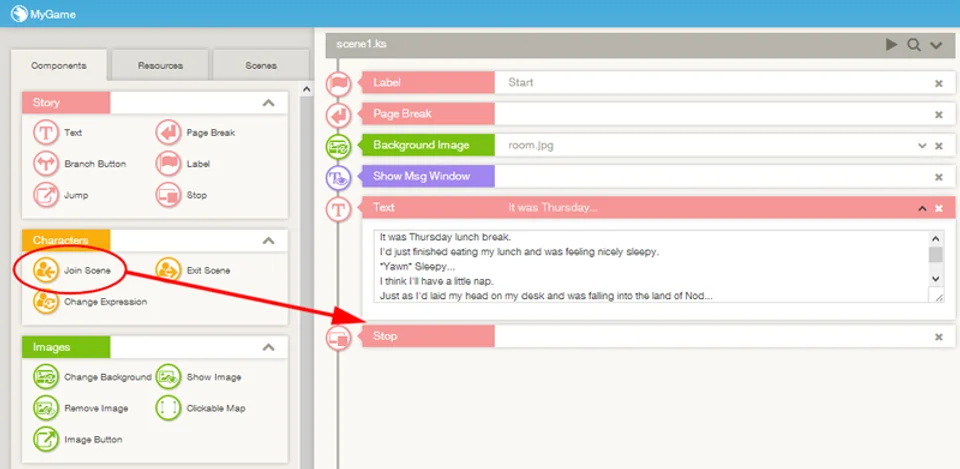
Now then, let’s have our character Yuko actually join our scene in the game. From the Tools Area, drag and drop the ‘Join Scene’ component and position it below the text that we added earlier.
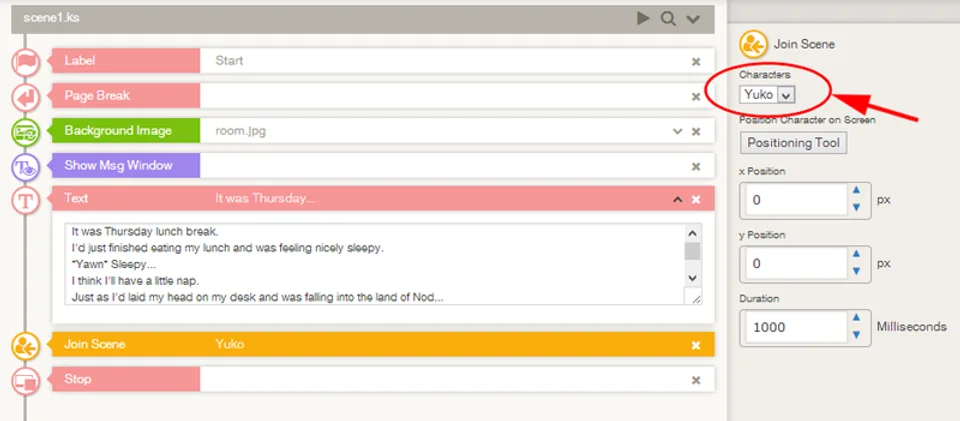
Once that’s done, take look at the character list in the Settings Section and make sure that Yuko is listed in the Character dropdown toward the top of the section . If Yuko is selected, we’re all good.
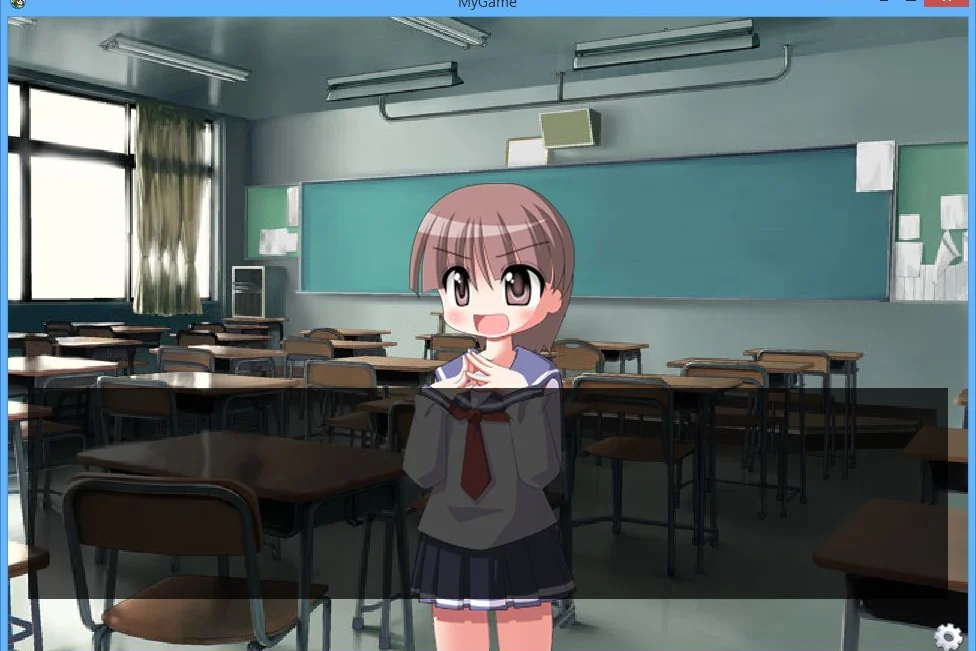
Save the project and hit preview. Now Yuko’s in the scene!
Change a Character’s Expression
Having the characters’ expressions change to match the developments in the scene in a must-have in any good visual novel and expressions can be easily changed in TyranoBuilder.
First, let’s add a new Text component after the ‘Join Scene’ that we previously added, and enter the below text.
What the heck, Yuko?!!
#Yuko
This is no time for taking a nap! Something BIG happened!!
Let’s change her expression after the line ‘This is no time for taking a nap! Something BIG happened!’
This time drag the ‘Change Expression’ component from the Tools Area and drop it below the last Text component.
The Scene Editor should now look like this:
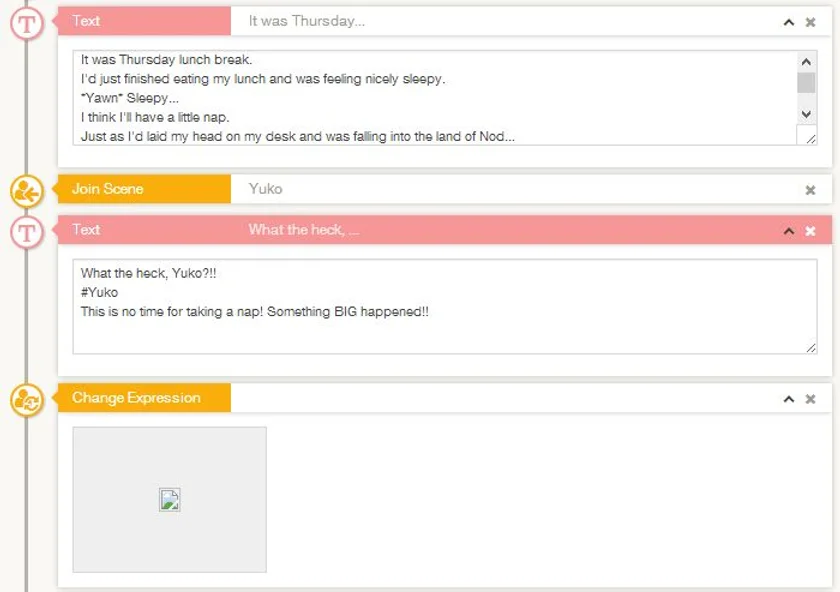
With Change Expression highlighted in the Scene Editor, click ‘Select File’ from the Settings section and select one of the expressions you imported in the Character Manager by double-clicking it.
Save the project and preview. If Yuko’s expression changes after the text is displayed, then SUCCESS!
If you’d like a character’s expression to be something other than the default expression when they join a scene, use the Change Expression component to set the expression before using the Join Scene component. You can have several characters appear at once, by using multiple ‘Join Scene’ components. You have as many characters join a scene as you like. Character positions are automatically allocated, but any vertical and horizontal positions set in the Settings Section are given priority.
In the next installment, we’ll see how to change the background.